Why Your Serger Sits in the Closet, and What Actually Fixes It
Quick answer
Most sergers go unused after a run of small failures: hard threading, threads that keep breaking, wavy seams on knits, loops from changed dials and ruined fabric. Each has a clear cause, such as the wrong threading order, a thread out of its tension disc or differential feed left at 1.0. Structured practice fixes it: thread in four colors, sew test seams on scraps, change one dial at a time and learn one stitch at a time.
We may earn a commission from links on this page, at no extra cost to you. Disclosure
See the course & price →$67 one-time · 60-day money-back guarantee · Paid link
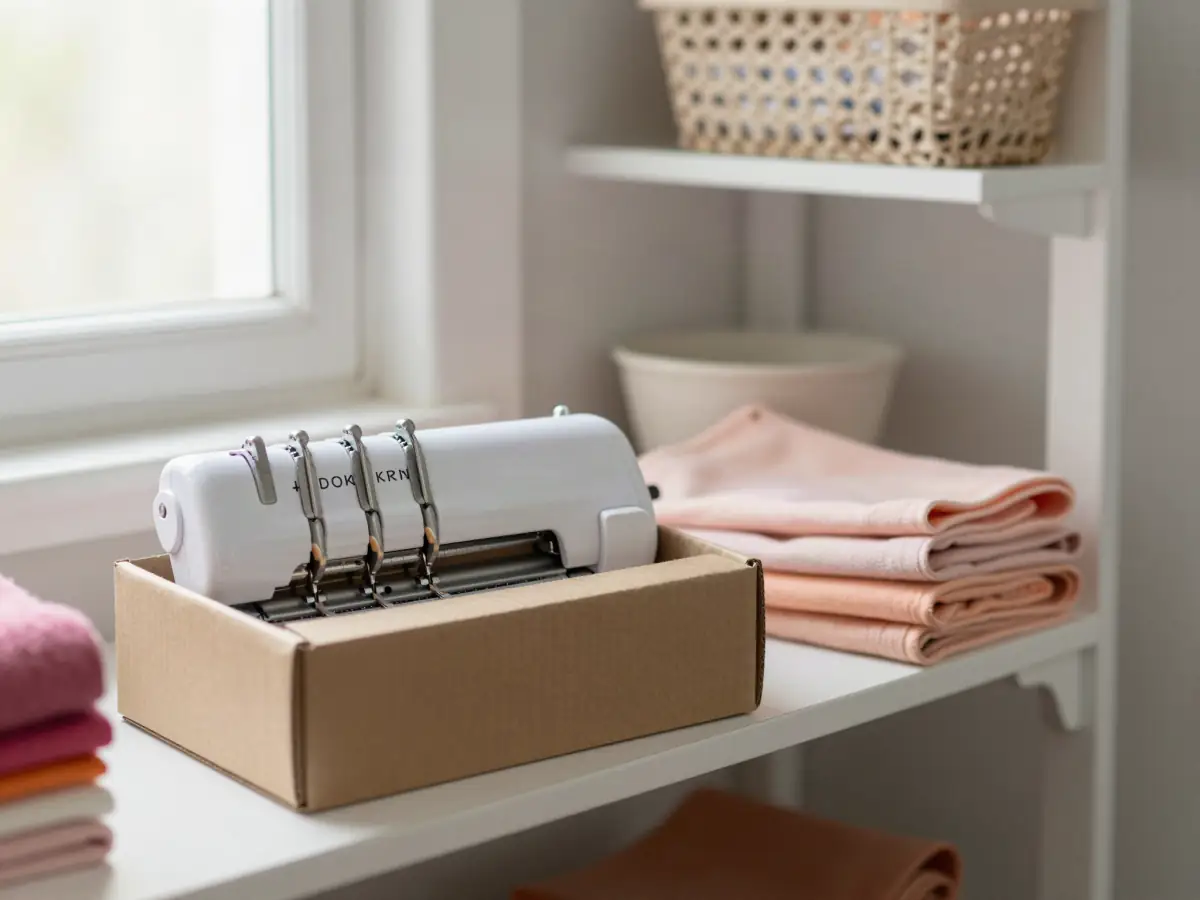
A serger is one of the most common sewing purchases that ends up unused. It arrives with four cones of thread, a thick manual and a sharp knife, and after one tangled evening it goes back in the box. Serger classes have even been named after the problem: getting the machine out of the box. This post walks through why it happens, what actually causes the frustration, and what fixes it for good.

The usual story: one bad evening, then the closet
Most sergers stop getting used after a run of small failures, not one big one.
A thread snaps mid-seam. Rethreading takes much longer than expected, because the lower looper path is hard to see. The next seam on a knit T-shirt comes out wavy. Someone turns a tension dial to fix it, then another, and now nothing looks right and there is no way back to the starting point.
By then the good fabric is ruined and the evening is gone. The machine gets covered up "until there is time to learn it properly." That time rarely comes.
The four problems that send sergers to the closet
Almost every story comes down to four problems: threading, breaking threads, wavy or loopy seams, and wasted fabric. Each one has a clear cause, and none of them means the machine or the sewist is the problem.
Cause 1: Threading feels impossible at first
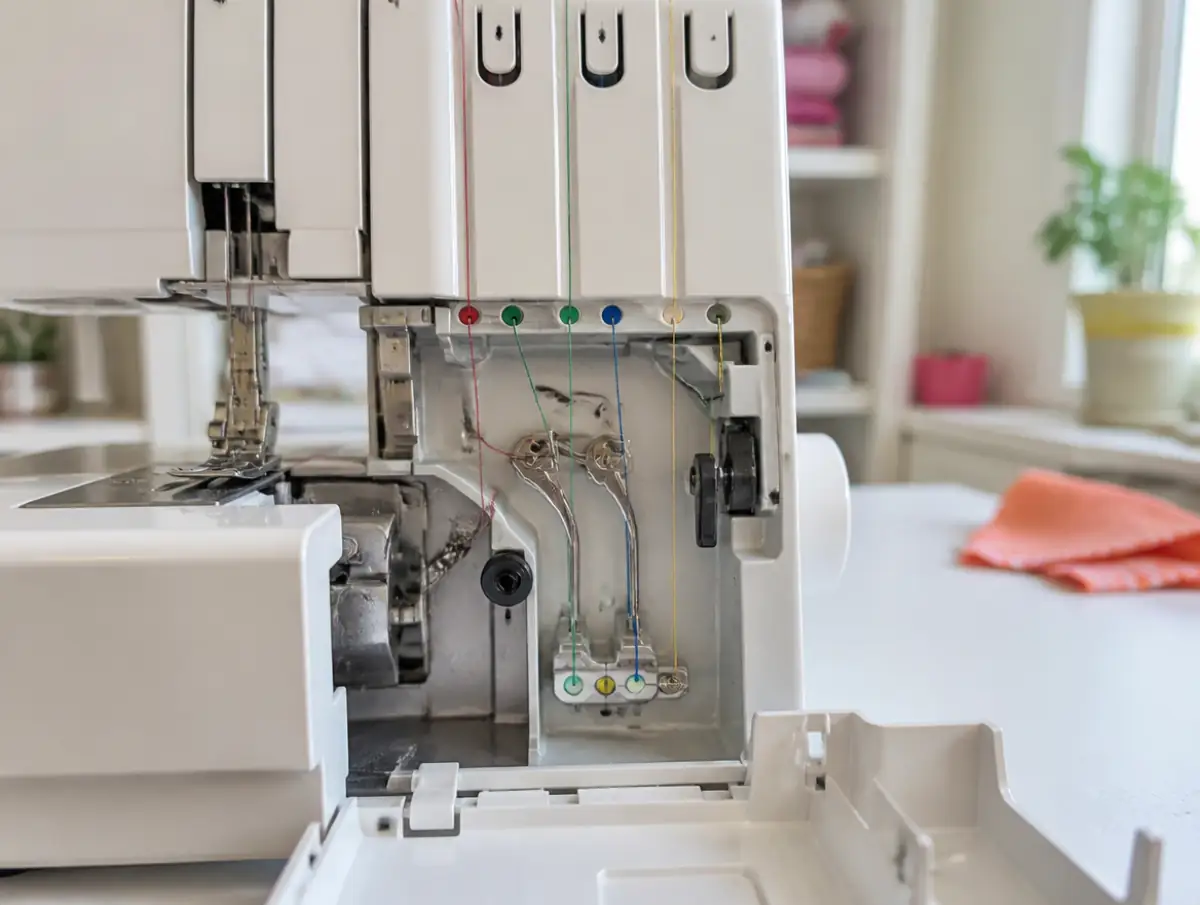
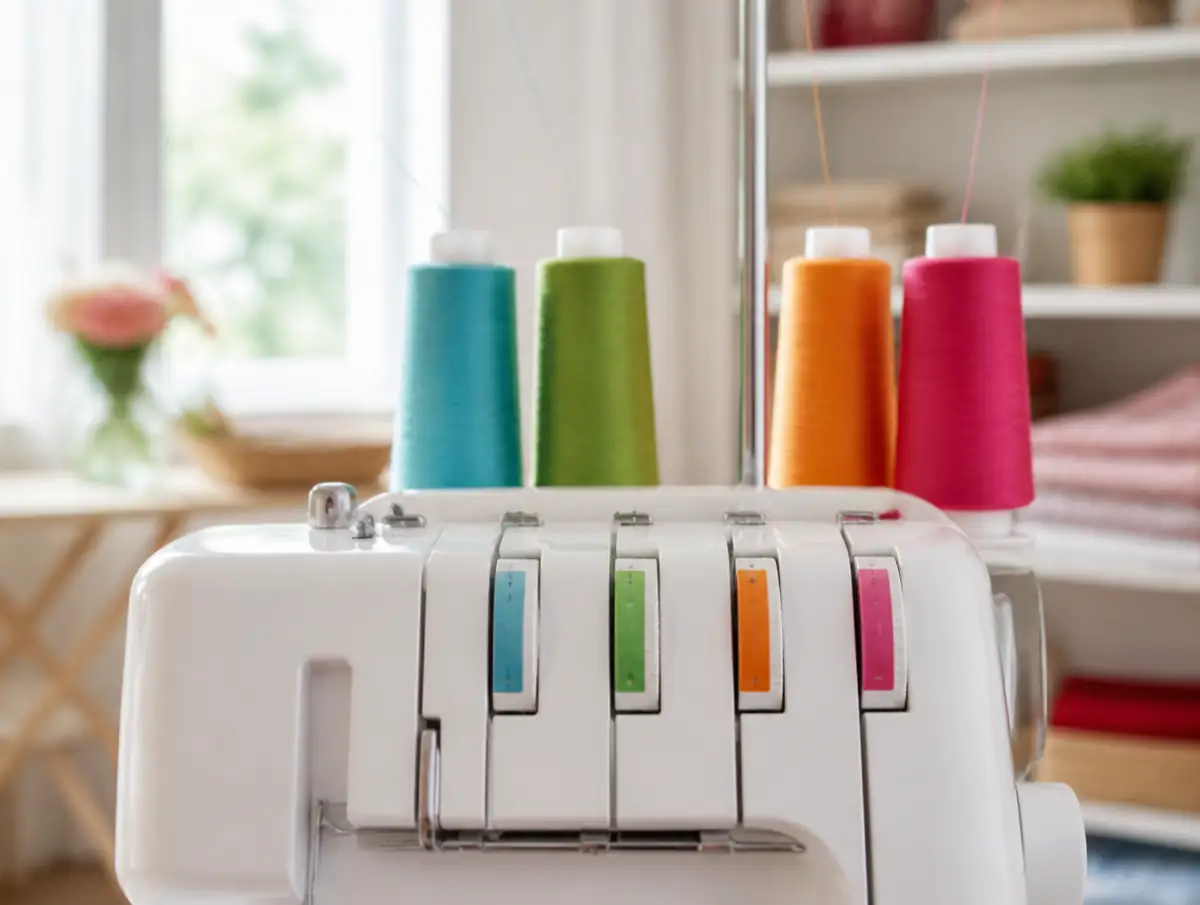
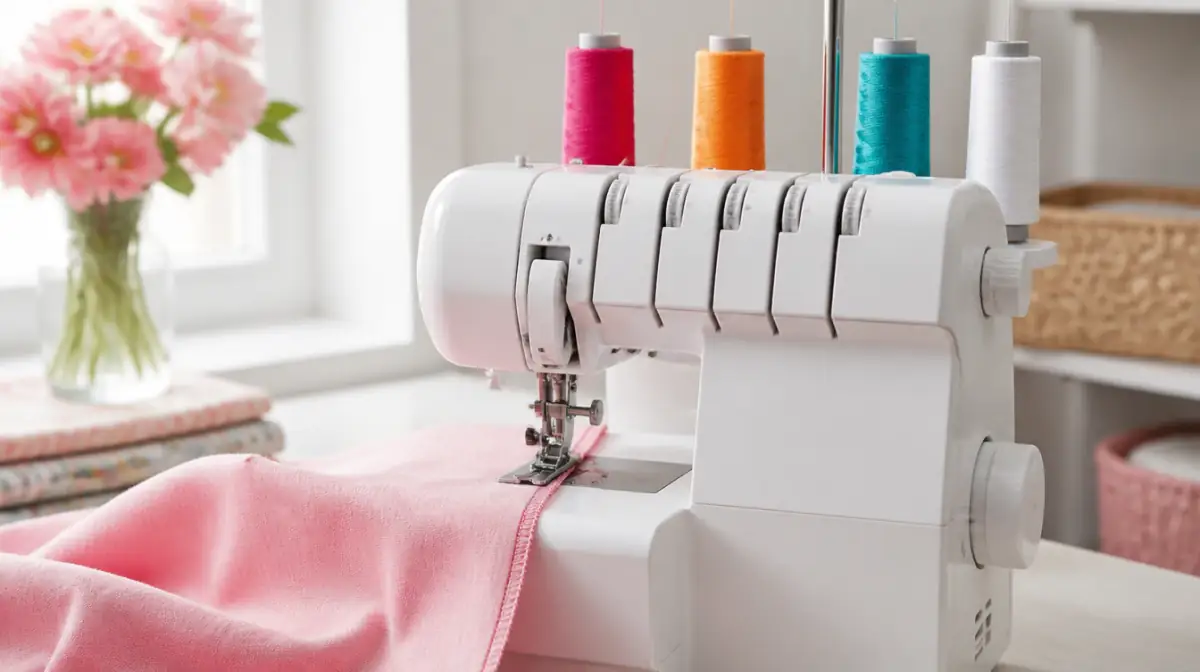
Serger threading is hard at first because a 4-thread overlock uses two needles plus an upper and a lower looper, and the loopers sit behind a cover.
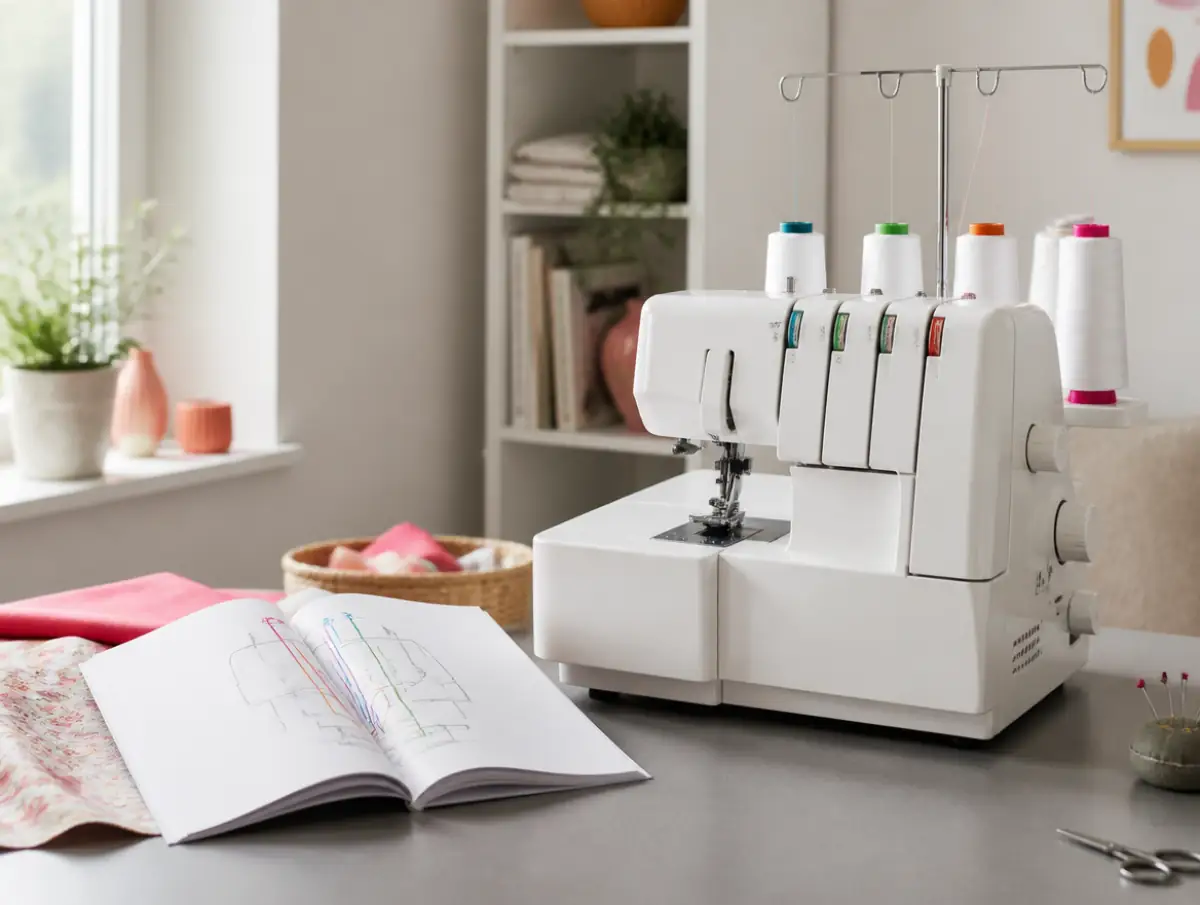
A sewing machine has one top thread and a bobbin. A serger has four separate paths, each with its own guides and tension disc. The manual's diagram is often small, and the lower looper usually has the trickiest route.
Order matters too. The standard sequence is upper looper, lower looper, right needle, left needle, with the presser foot up so the tension discs open. Thread the needles first and the stitch will not form. Always confirm the order in your machine's manual, because a few models differ.
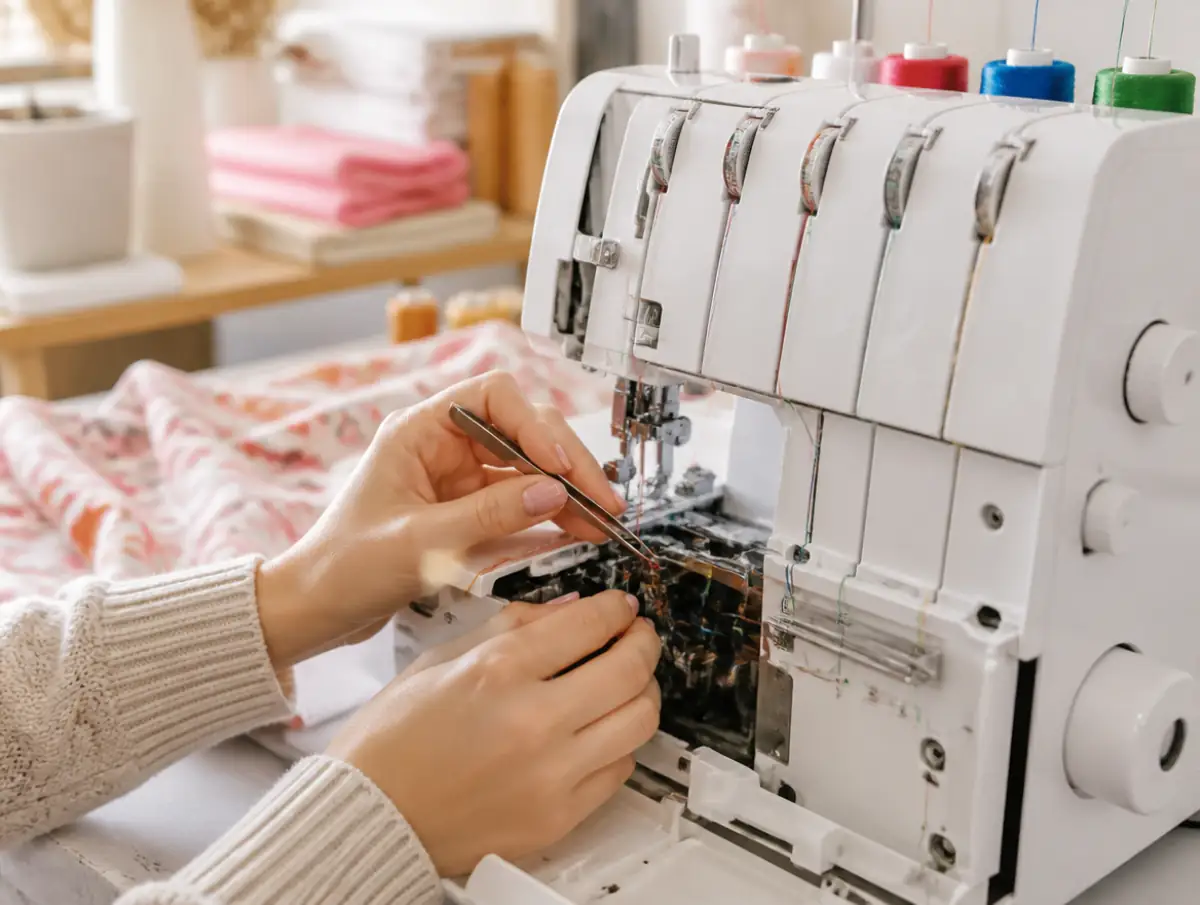
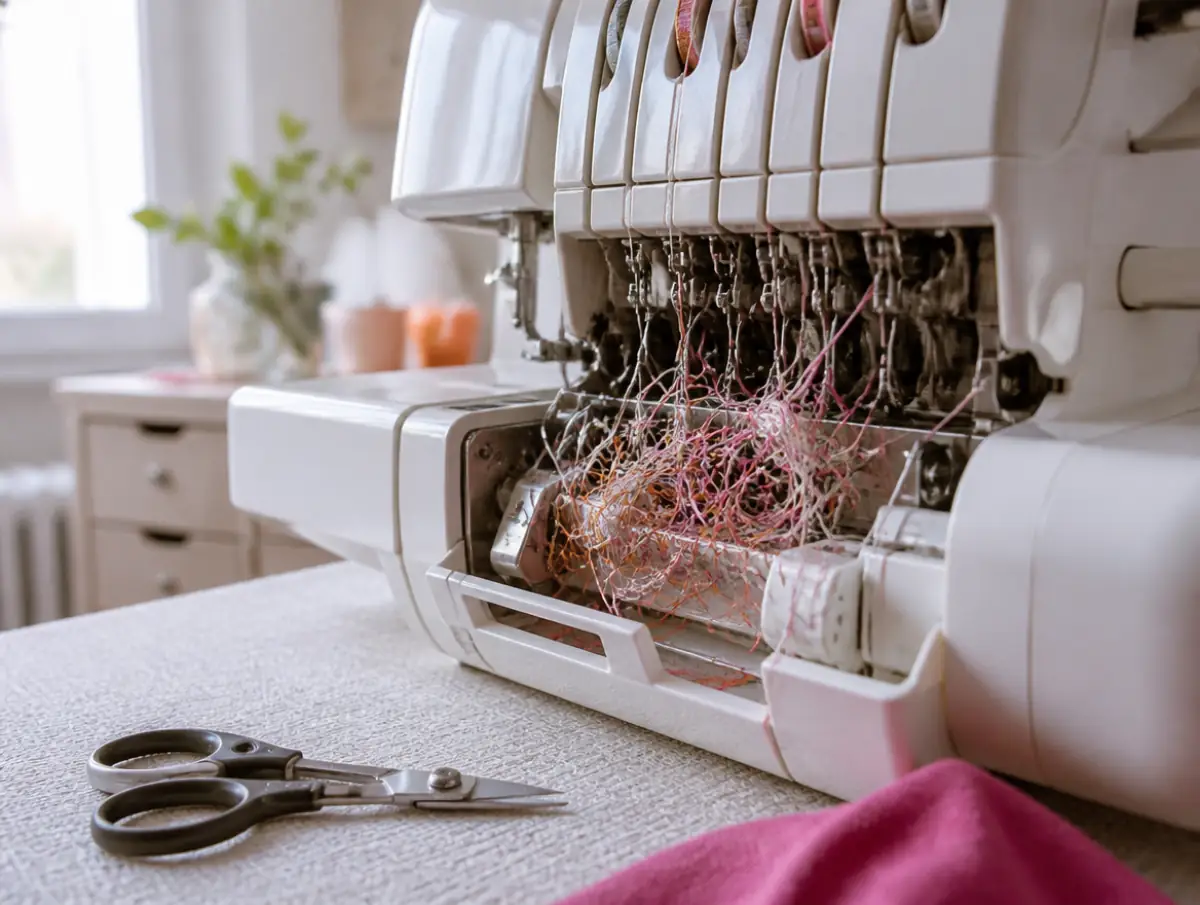
Cause 2: Threads keep breaking or coming unthreaded
A thread that keeps breaking is usually a threading problem, not a tension problem. Common culprits:
- A thread that slipped out of its tension disc, so it runs loose and snaps.
- A thread caught on the spool notch or not passing through the telescoping thread stand.
- Thread fed in the wrong order, so the needle thread is not locking over the looper threads.
- A bent or dull needle, or a needle not pushed fully up into its clamp.
- Old or uneven thread that frays as it runs fast through the machine.
The fix is boring but reliable: unplug, raise the presser foot, pull the problem thread out and rethread that path from the cone. If a looper thread broke, rethread the needles after it.
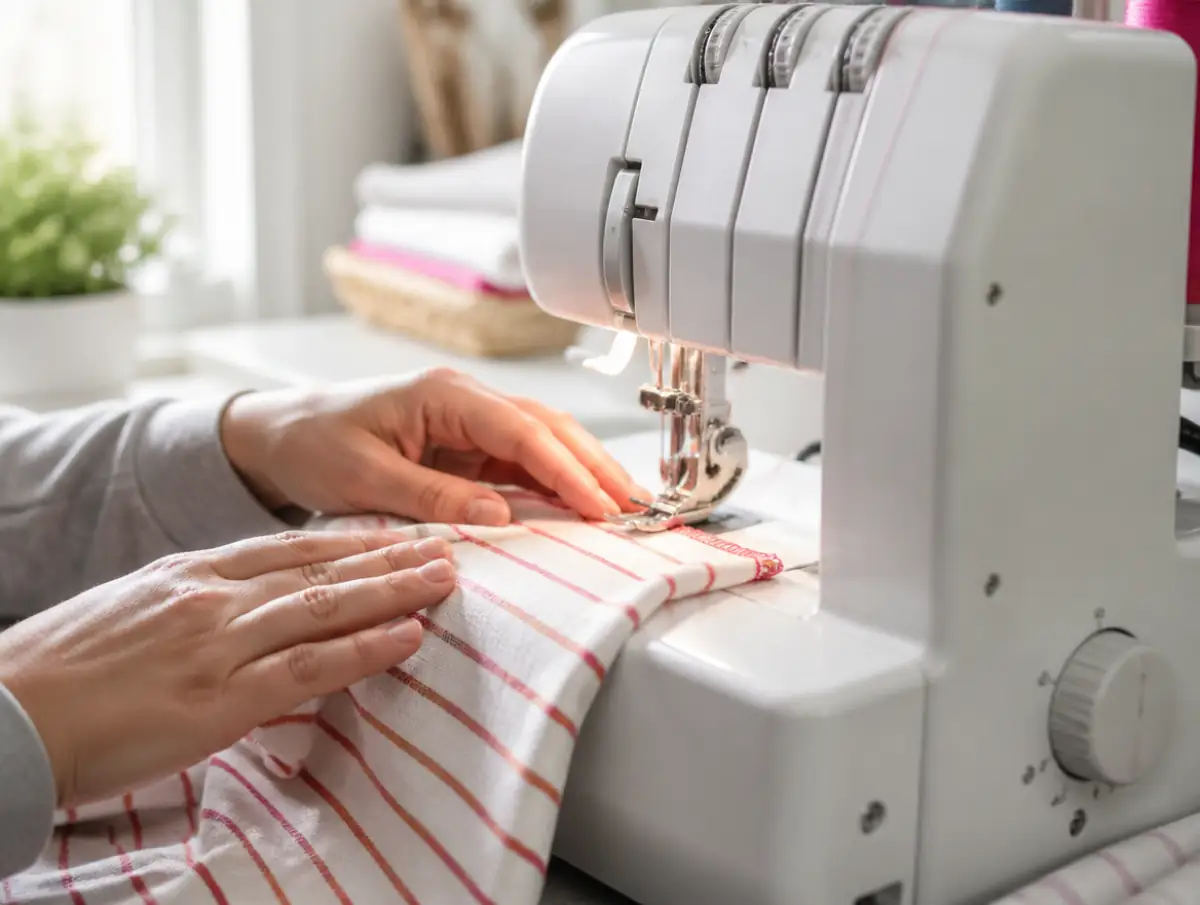
Cause 3: Wavy seams on knits
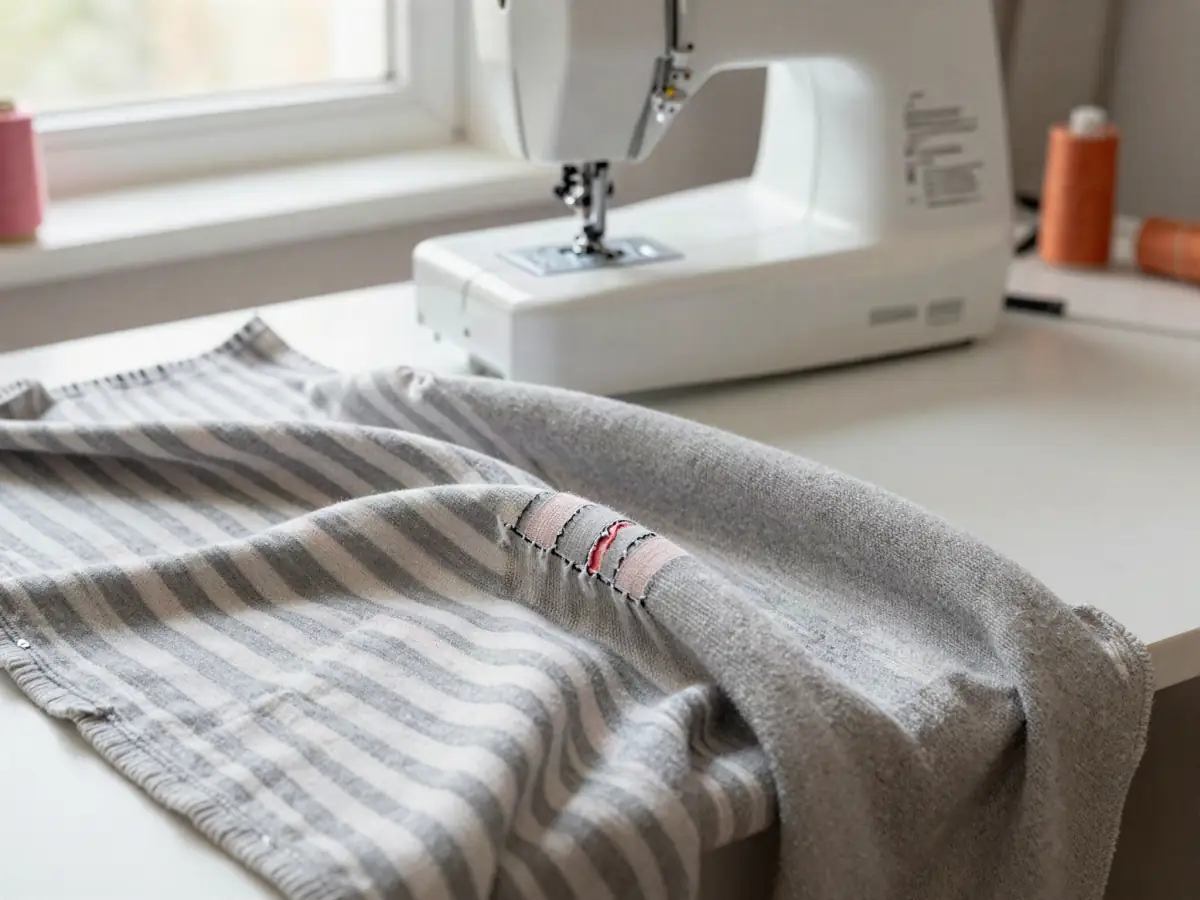
Wavy, stretched-out seams on knits usually mean the differential feed is set too low for the fabric.
Differential feed controls how fast the front and back feed dogs move. At 1.0 they move together. Above 1.0 the front feeds more fabric in, which stops knits from stretching and, at higher settings, gathers. Below 1.0 it gently stretches, which helps prevent puckering on thin wovens.
Many people never touch this dial, because it is rarely explained well. Raise it a step at a time on a scrap of the same knit until the seam lies flat. Also let the machine feed the fabric; pulling it through stretches the seam.
Cause 4: Loops, puckers and the dial spiral
Tension trouble gets worse when several dials are changed at once, because there is no way to tell which change helped.
A simple rule of thumb: if a thread forms loops, too much of that thread is coming through, so tighten its dial a little. If the fabric puckers or draws in, loosen. Change one dial, sew a test, look, then decide.
Write down the default settings from your manual before touching anything. Our serger tension guide has a symptom-to-dial table.
Love Your Serger covers threading two ways, tension, differential feed and troubleshooting in one path. $67 one-time (checked Oct 14, 2026).
See the course & price →Paid link · opens the course's sales page.
Cause 5: Practicing on the real project
Most wasted fabric comes from testing settings on the actual garment instead of on scraps.
The serger's knife trims as it sews, so a mistake cannot simply be unpicked and resewn at the same width. Each attempt eats a little more seam allowance. After two or three tries the piece no longer fits.
Keep a pile of plain cotton scraps and a few strips of the project fabric beside the machine. Every new setting gets a test seam first. Keep fingers clear of the knife area, and unplug before reaching inside.

Why random videos often make it worse
Free videos are great for one specific question, but learning a serger from scattered clips skips the order that makes skills stick.
One video shows threading on a different brand. The next jumps into rolled hems before tension is clear. A third uses settings that do not match your machine. Each clip may be good on its own, yet together they leave gaps.
If you only need one threading demo for your exact model, your brand's own channel is often enough. We compare both routes in Love Your Serger vs free YouTube.
What actually fixes it: structured practice, one stitch at a time
Sergers come back out of the closet when practice follows a fixed order: threading, a straight seam, one dial at a time, then one new stitch at a time. Here is a simple sequence to follow at your own pace:
| Step | Practice | Done when |
|---|---|---|
| 1 | Thread with four different colors, in your manual's order | A clean thread chain forms |
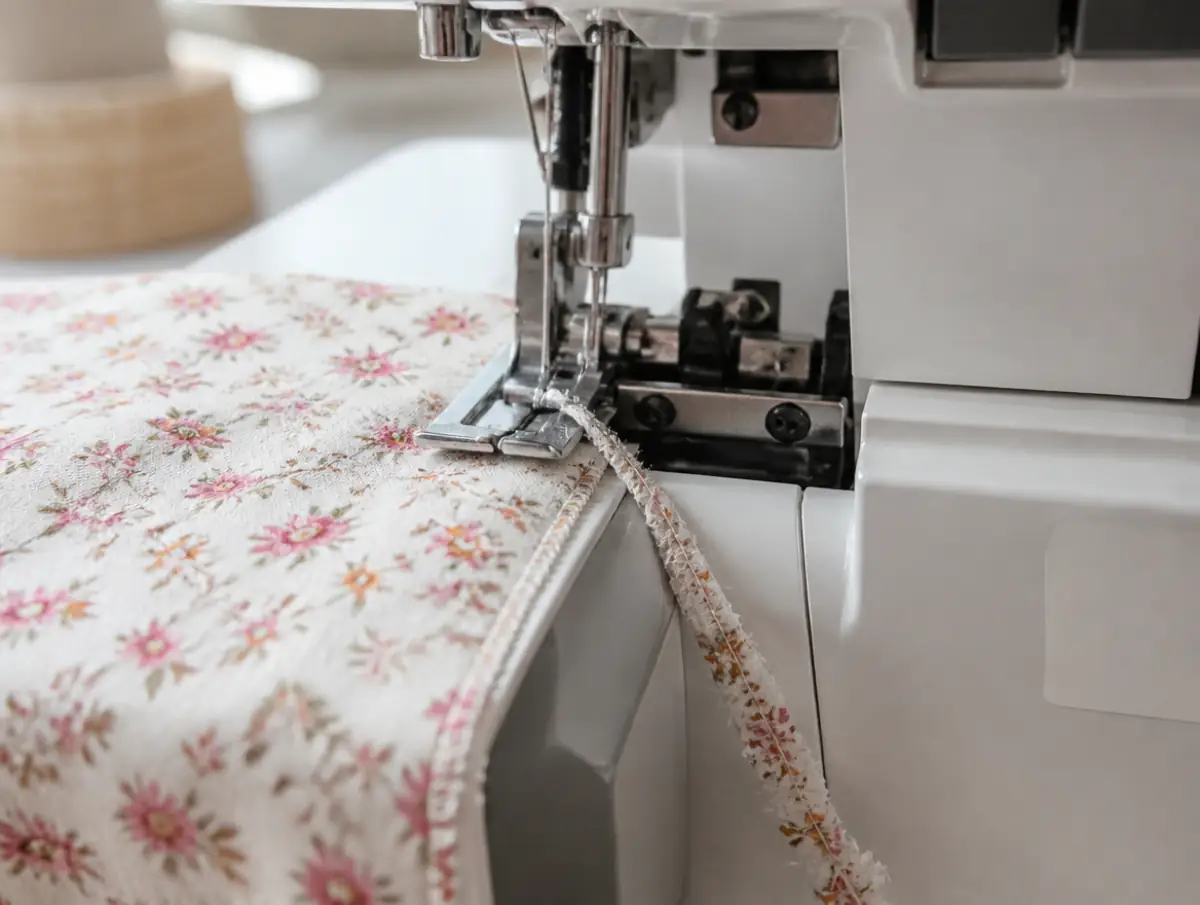
| 2 | Straight 4-thread seams on cotton scraps | Edges are wrapped, no loops |
| 3 | Change one tension dial, sew, compare, reset | You can see what each dial does |
| 4 | Knit scraps with differential feed above 1.0 | The seam lies flat, not wavy |
| 5 | One new stitch, such as a 3-thread rolled hem | A tidy sample you can label |
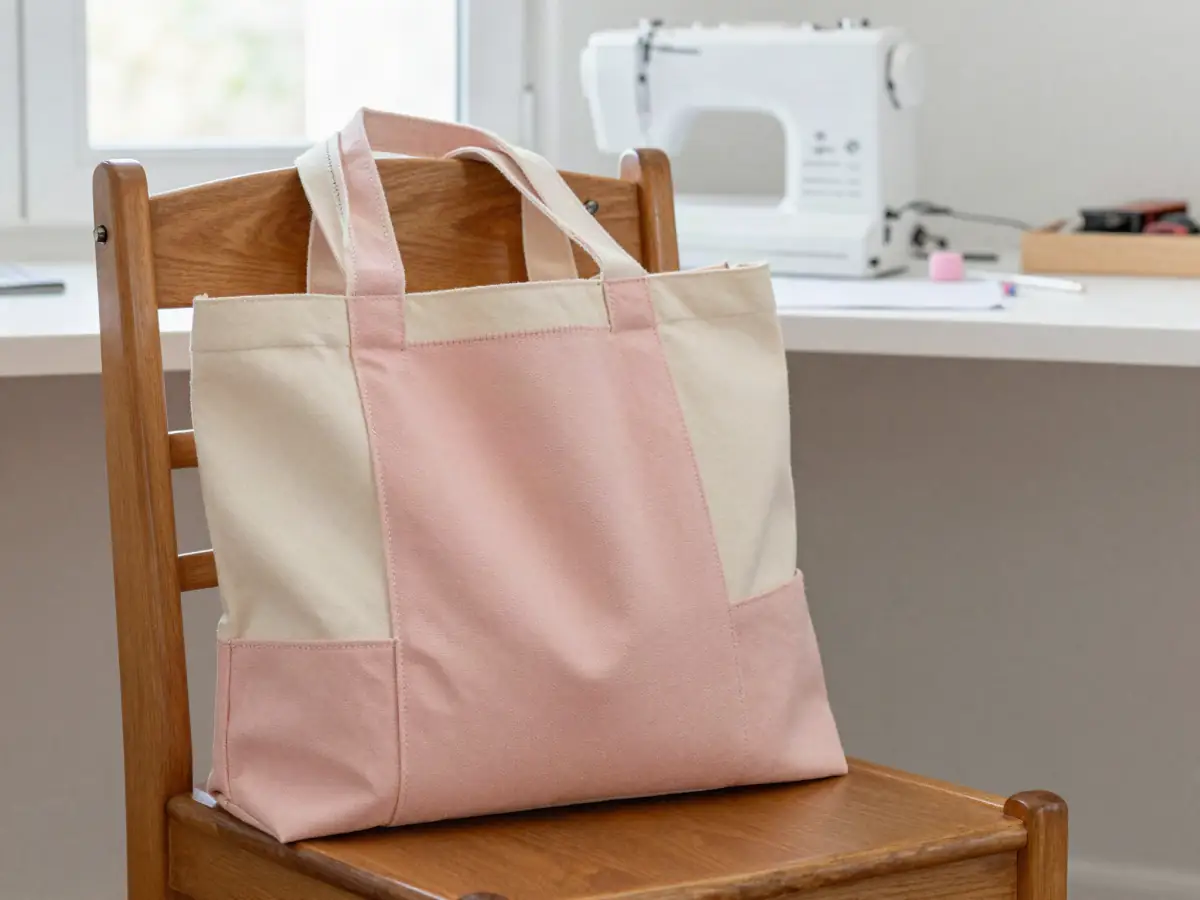
| 6 | A small project, such as a tote bag | Finished seams inside and out |
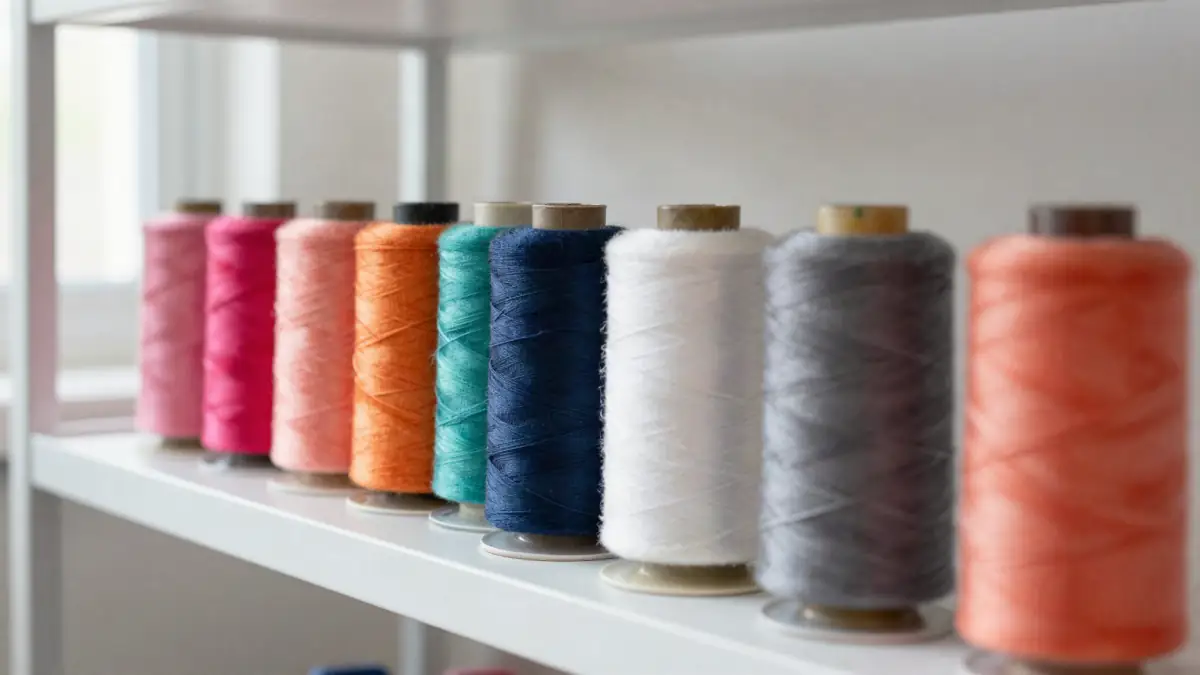
The colored threads matter. When each path is a different color, a loop on the edge tells you exactly which thread caused it. Label each test swatch with its settings and pin it to a board. Over time that board becomes your own reference chart.
For step-by-step threading, start with thread a 4-thread serger in 10 minutes or the longer serger threading guide.
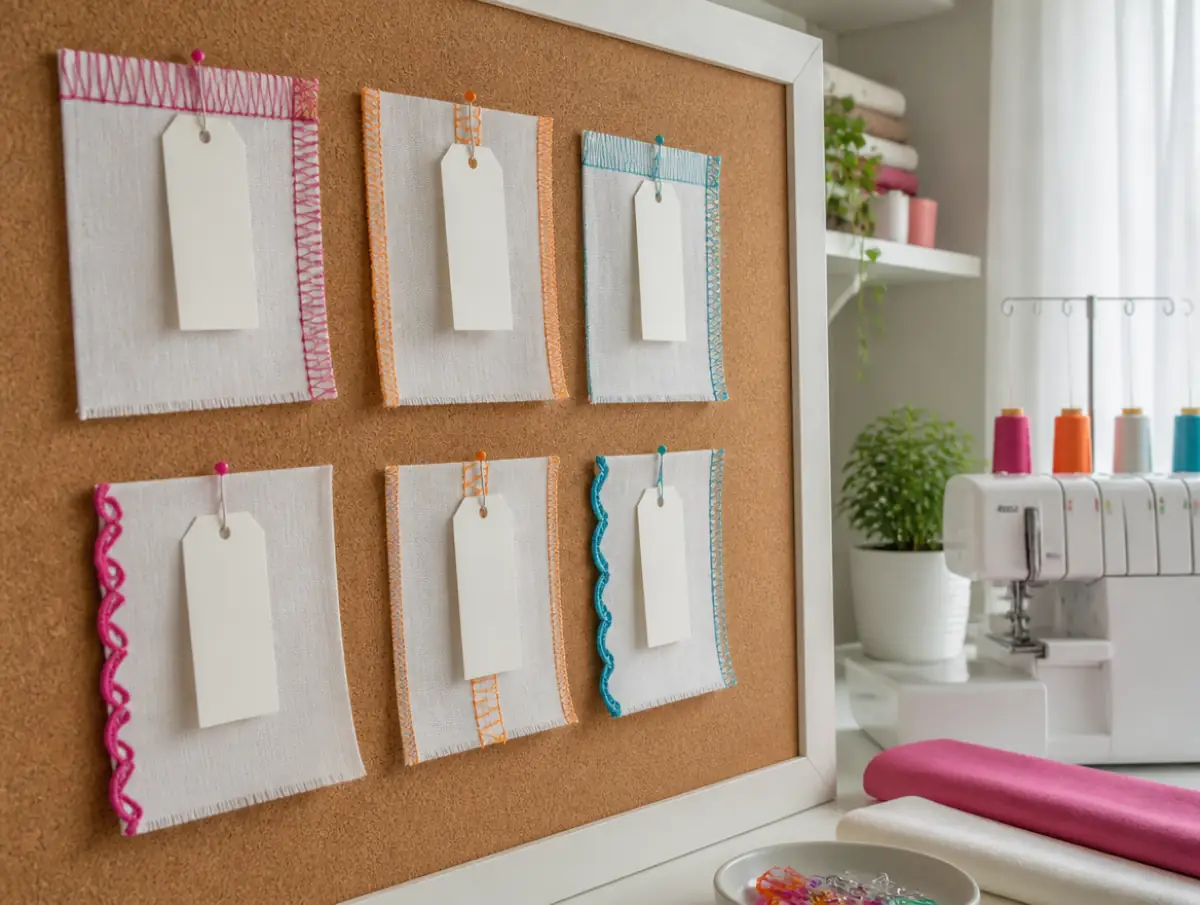
Build a stitch board, one sample at a time
A board of labeled stitch samples turns trial and error into a reference you can trust.
Each swatch shows the stitch, the threads used and the dial settings. Next time a rolled hem or flatlock is needed, the answer is already on the wall. It also shows progress, which keeps the machine on the table instead of in the closet.
Which stitches a machine can sew depends on the model. A basic 4-thread serger makes overlock, rolled hem and usually flatlock. Some 2-thread stitches need a 2-thread converter, and cover stitch needs a cover-stitch-capable machine.
Prefer a set path instead of piecing it together? The course walks through 22 stitch types, one lesson at a time.
See all 22 stitches →Paid link · opens the course's sales page.

A structured option: Love Your Serger
Love Your Serger is an online serger video course from Your Creatory that follows this kind of order, from threading to stitches to projects.
It costs $67 one-time (checked Oct 14, 2026), or 3 monthly payments of $24, with lifetime access and a 60-day money-back guarantee. According to the vendor, it has about 41 to 44 videos and 4.5 to 6 hours of video in 12 modules.
The modules cover getting to know the machine, threading two ways (regular and a "knot method"), accessories, sewing basics, 22 stitch types, troubleshooting, cleaning and oiling, differential feed, eight techniques such as rolled hems, gathering and elastic, and two bonus projects: a tote bag and a cushion cover.
Honest limits before you decide
The course is pre-recorded with no live teacher feedback, and it is not specific to any brand.
- You still need your manual for your machine's exact threading diagram.
- It was made in Europe, so a few terms differ ("wave hem" is a rolled hem).
- There is no printed book, and the vendor has a small public review footprint.
- Coverstitch machines and tension have their own separate paid courses.
We researched the sales page, curriculum and order form; this is not a hands-on test. Read the full Love Your Serger review or is Love Your Serger worth it for the details, and the best online serger courses for alternatives.
One payment, lifetime access, 60 days to change your mind. $67 one-time (checked Oct 14, 2026).
Watch the course preview →Paid link · opens the course's sales page.
Your next step tonight
Take the serger out, unplug it, and thread it in four colors with the manual open beside you.
Sew a thread chain, then ten straight seams on cotton scraps. Do not touch the dials yet. That single session removes most of the mystery. If you are still deciding whether a serger fits your sewing at all, read serger vs sewing machine, or see the best serger for beginners.
Ready for the full path from threading to finished projects? Research-based pick, not a hands-on test.
Start the course →Paid link · opens the course's sales page.
Frequently asked questions
Why is a serger so hard to thread?
A 4-thread overlock uses two needles plus an upper and a lower looper, each with its own guides and tension disc, and the loopers sit behind a cover. The standard order is upper looper, lower looper, right needle, left needle, with the presser foot up. Check your manual for your model.
Why does my serger thread keep breaking?
Usually a threading issue: a thread out of its tension disc, caught on the spool or antenna, threaded in the wrong order, or a bent needle. Unplug, raise the presser foot and rethread that path from the cone.
Why are my serger seams wavy on knits?
The differential feed is usually set too low. Raise it above 1.0 a step at a time on a scrap of the same knit until the seam lies flat, and let the machine feed the fabric instead of pulling it.
How do I stop wasting fabric on a serger?
Test every new setting on scraps first. The knife trims as it sews, so each failed seam on the real project eats seam allowance.
Is a serger hard to use for beginners?
It feels hard at first for most people, mainly because of threading and tension. A fixed practice order (threading, straight seams, one dial at a time, one stitch at a time) makes it routine.
Is there a course that teaches serger skills in order?
Love Your Serger is one option: an online video course covering threading two ways, tension, differential feed, troubleshooting, 22 stitch types and two projects, $67 one-time (checked Oct 14, 2026) with a 60-day money-back guarantee. It has no live feedback.
More from the blog
Best 5 Online Serger Courses in 2026
Love Your Serger, Serger Made Simple, Craftsy, Tilly and the Buttons and Butchers Sew Shop compared on price, refund, stitches and access. Oct 14, 2026.
Is Love Your Serger Worth It? An Honest Look at Price and Fit
Is Love Your Serger worth $67? Price math, what's inside, objections, machine fit, the coverstitch caveat, the 60-day refund and who should skip it.

Love Your Serger vs Serger Made Simple: Which Serger Course?
Love Your Serger ($67, 60-day refund, 22 stitches) vs Ageberry's Serger Made Simple ($97, 30-day refund, 60+ videos). Prices checked Oct 14, 2026.