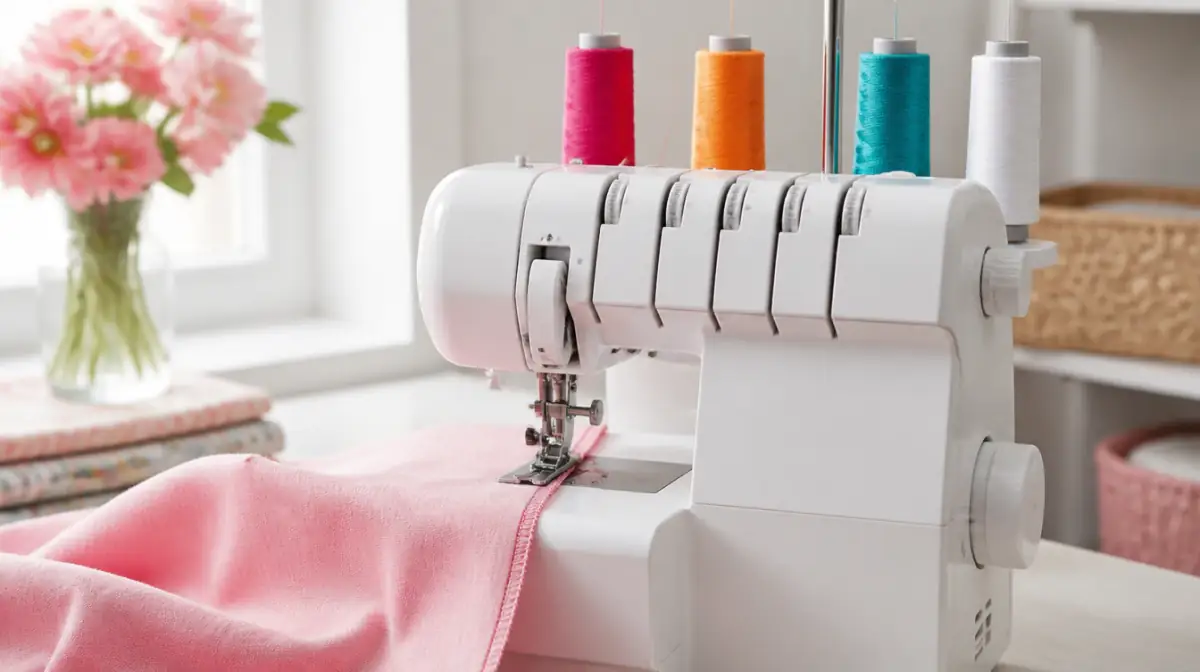
Serger Tension Guide: Read the Stitch, Then Fix It
We may earn a commission from links on this page, at no extra cost to you. Disclosure
Quick answer
A balanced 4-thread serger stitch has two straight needle lines, the upper looper flat on top, the lower looper flat underneath and the loopers meeting at the cut edge. If a thread shows on the wrong side, it is too loose or its partner is too tight. Rethread first, change one dial at a time, and use differential feed, not tension, for wavy or puckered seams.
We may earn a commission from links on this page, at no extra cost to you. Disclosure
See the course & price →$67 one-time · 60-day money-back guarantee · Paid link

Quick answer: A balanced 4-thread serger stitch has two straight needle lines on top, the upper looper thread lying flat on top, the lower looper thread flat underneath, and the two looper threads meeting exactly at the cut edge. If a thread shows on the wrong side, that thread is too loose or the opposite thread is too tight. Rethread first, change one dial at a time, and test on a scrap of the same fabric.

What a balanced 4-thread stitch looks like
In a balanced stitch, every thread lies flat and the loopers lock right at the fabric edge. Nothing loops, puckers or pulls.
Look at the top first. You should see two parallel needle lines and the upper looper thread wrapping toward the edge. Then flip the fabric: the lower looper thread should lie flat underneath and meet the upper looper thread at the edge.
Which dial controls which thread
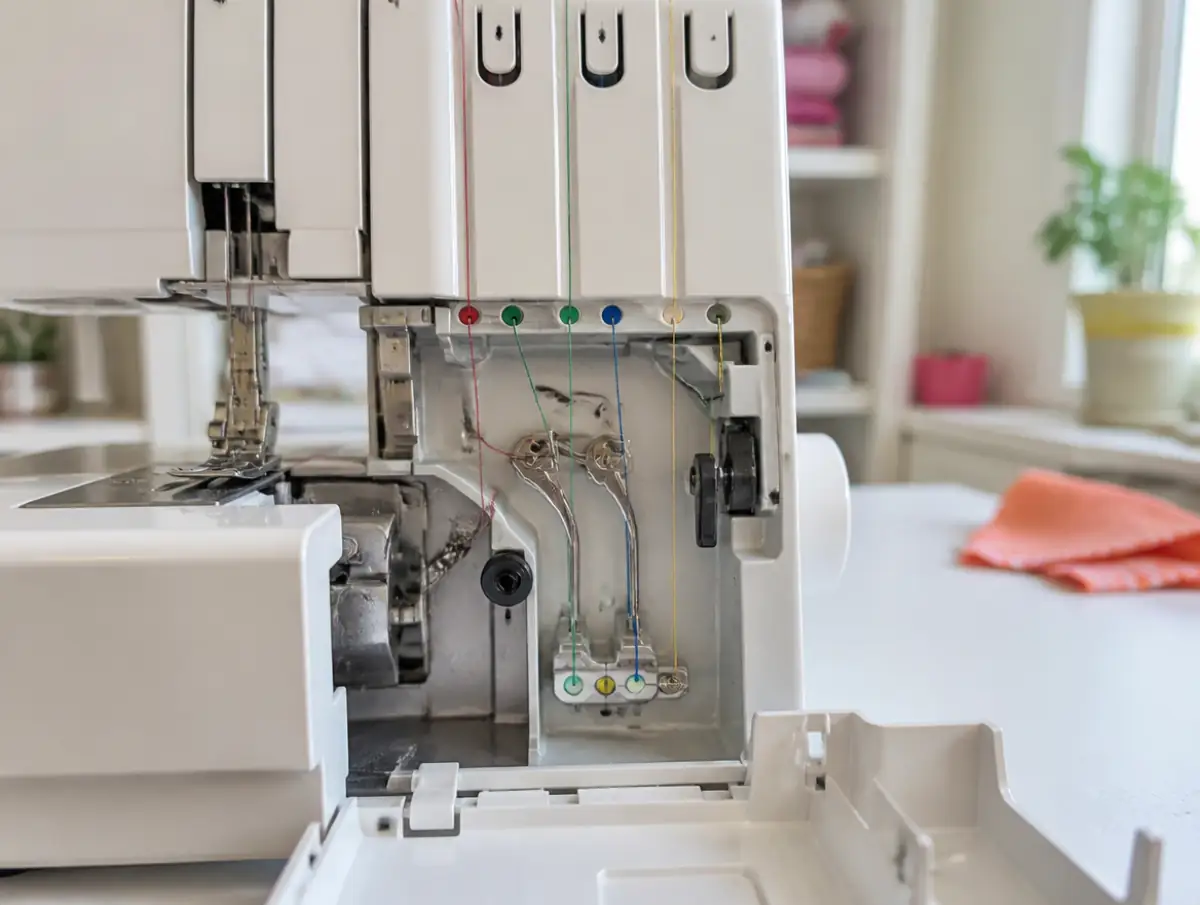
A 4-thread serger has four tension dials, one per thread, usually color-coded to match the thread paths. On most machines a higher number means tighter, but check your manual, because layout and direction vary.
| Dial | Thread | Where you see it | Typical role |
|---|---|---|---|
| Left needle | Left needle thread | Outer straight line on top; small dots underneath | Holds the seam together on the wide stitch |
| Right needle | Right needle thread | Inner straight line on top | Anchors the loopers; used alone for narrow stitches |
| Upper looper | Upper looper thread | Wraps over the top of the edge | Covers the top of the edge |
| Lower looper | Lower looper thread | Lies on the underside | Covers the underside; tightened for rolled hems |
Many sergers mark a "standard" setting on each dial, often around the middle. Start there for medium-weight cotton and adjust in small steps.
Rule one: it is often threading, not tension
Before you turn any dial, rethread the machine. A thread that sits on top of its tension disc instead of between the plates acts as if its tension were near zero.
Raise the presser foot so the discs open, then floss each thread firmly into its disc. Check that each cone feeds smoothly and nothing is caught on a spool pin or guide.
Threading is the likely cause if you see any of these:
- One thread is suddenly very loose after it worked fine before.
- Turning a dial changes nothing, even at the extremes.
- Threads break repeatedly in the same spot.
- The stitch fails to form or forms only sometimes.
Our step-by-step guide to threading a 4-thread serger covers the correct order: upper looper, lower looper, right needle, left needle.
Prefer to see tension fixed on video? Love Your Serger covers threading, sewing basics, troubleshooting and differential feed, about 41–44 videos according to the vendor. $67 one-time (checked Oct 14, 2026).
See the course & price →Paid link · opens the course's sales page.
Symptom-to-fix table
Read the symptom, then change the one dial the table names. The general rule: a thread that shows up on the wrong side is too loose, or its partner thread is too tight.
Adjust by a half or whole number, sew a few inches and check again.
| Symptom | Likely cause | Fix |
|---|---|---|
| Upper looper thread pulls to the underside | Upper looper too loose or lower looper too tight | Tighten the upper looper, or loosen the lower looper |
| Lower looper thread shows on top | Lower looper too loose or upper looper too tight | Tighten the lower looper, or loosen the upper looper |
| Loops hang off the edge | Both loopers too loose, or cutting width too narrow | Tighten both loopers a little; check the knife width |
| Fabric edge curls or rolls under | Loopers too tight, or stitch too wide for thin fabric | Loosen both loopers; narrow the stitch |
| Seam pulls open, needle thread shows as a ladder | Needle thread too loose | Tighten the left needle (or the right needle if it is the one laddering) |
| Fabric puckers along the needle line | Needle thread too tight, or differential feed too high on thin woven | Loosen the needle; lower the differential feed below 1 |
| Wavy, stretched seam on knit | Differential feed too low | Raise the differential feed above 1 (for example 1.5) |
| Thread breaks | Threading error, old needle or thread too tight | Rethread, change the needle, then loosen that thread |
Wavy seams and puckering: differential feed, not tension
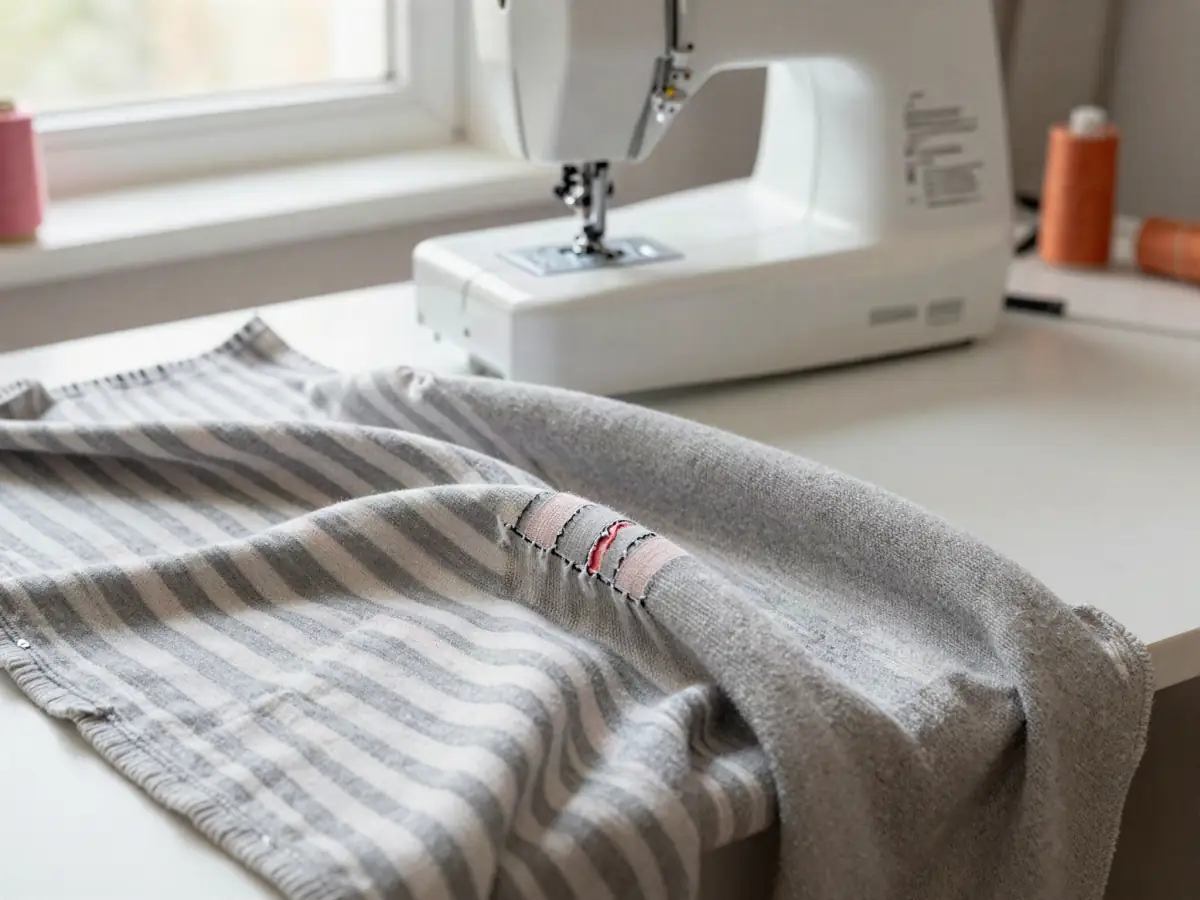
A wavy knit seam or a puckered seam on thin fabric is usually a differential feed problem, not a tension problem. Differential feed sets how fast the front feed dogs move compared with the back ones.
At 1.0 both move at the same speed. Above 1, the front dogs push more fabric in, which prevents stretching on knits and can gather fabric. Below 1, the fabric is gently stretched, which prevents puckering on thin wovens.
| Fabric | Starting differential feed | What it fixes |
|---|---|---|
| Stable cotton, quilting cotton | 1.0 | Neutral starting point |
| Jersey and T-shirt knit | About 1.3–1.5 | Wavy, stretched seams |
| Very stretchy knit, ribbing | About 1.5–2.0 | Strong waviness |
| Thin wovens, chiffon, lining | About 0.7–0.9 | Puckering |
| Gathering on purpose | Maximum | Light ruffles |
Ranges vary by machine; for example, Janome lists 0.5–2.25 for its 8002D and Juki lists 0.7–2.0 for its MO-654DE. Use these numbers as starting points and test.
Differential feed has its own module. The course also covers troubleshooting for thin, stretchy and thick fabrics, breaking threads and skipped stitches. 60-day money-back guarantee.
Watch the course preview →Paid link · opens the course's sales page.
The test-swatch method
Test on a scrap of the exact fabric and layer count you will sew. Tension that is perfect on two layers of cotton can loop on one layer of chiffon.
Use four thread colors while learning, so you can see at a glance which thread is misbehaving.
- Write down your starting numbers on a strip of masking tape or in a notebook.
- Sew about 4 inches on a doubled scrap, cutting a little off the edge.
- Inspect top, bottom and edge and match what you see to the table above.
- Change one dial by a half or whole number. Never change two at once.
- Sew another 4 inches on the same strip so you can compare side by side.
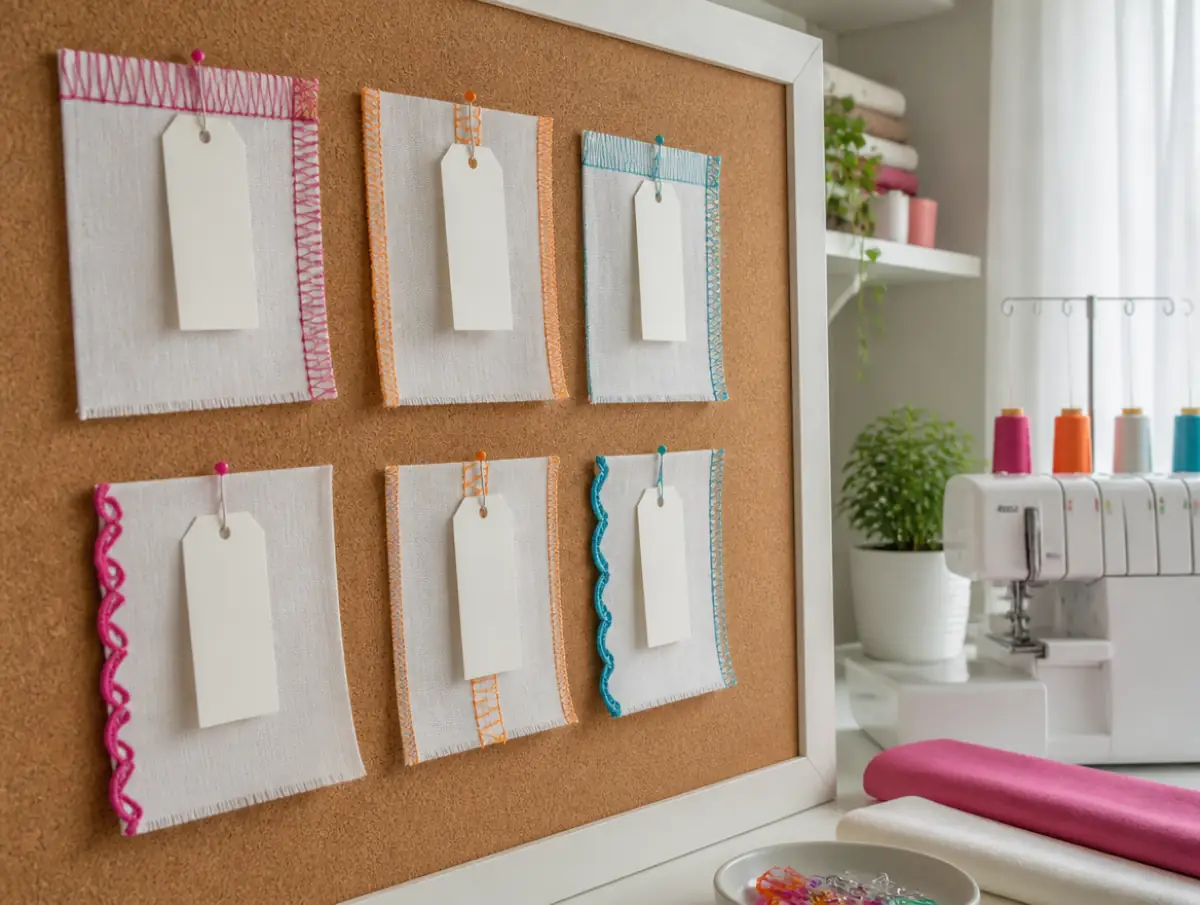
- Label the good swatch with the fabric, thread and settings, and keep it.
A small binder or board of labeled swatches turns into your own settings chart. Next time you sew the same fabric, you start from known numbers instead of guessing.
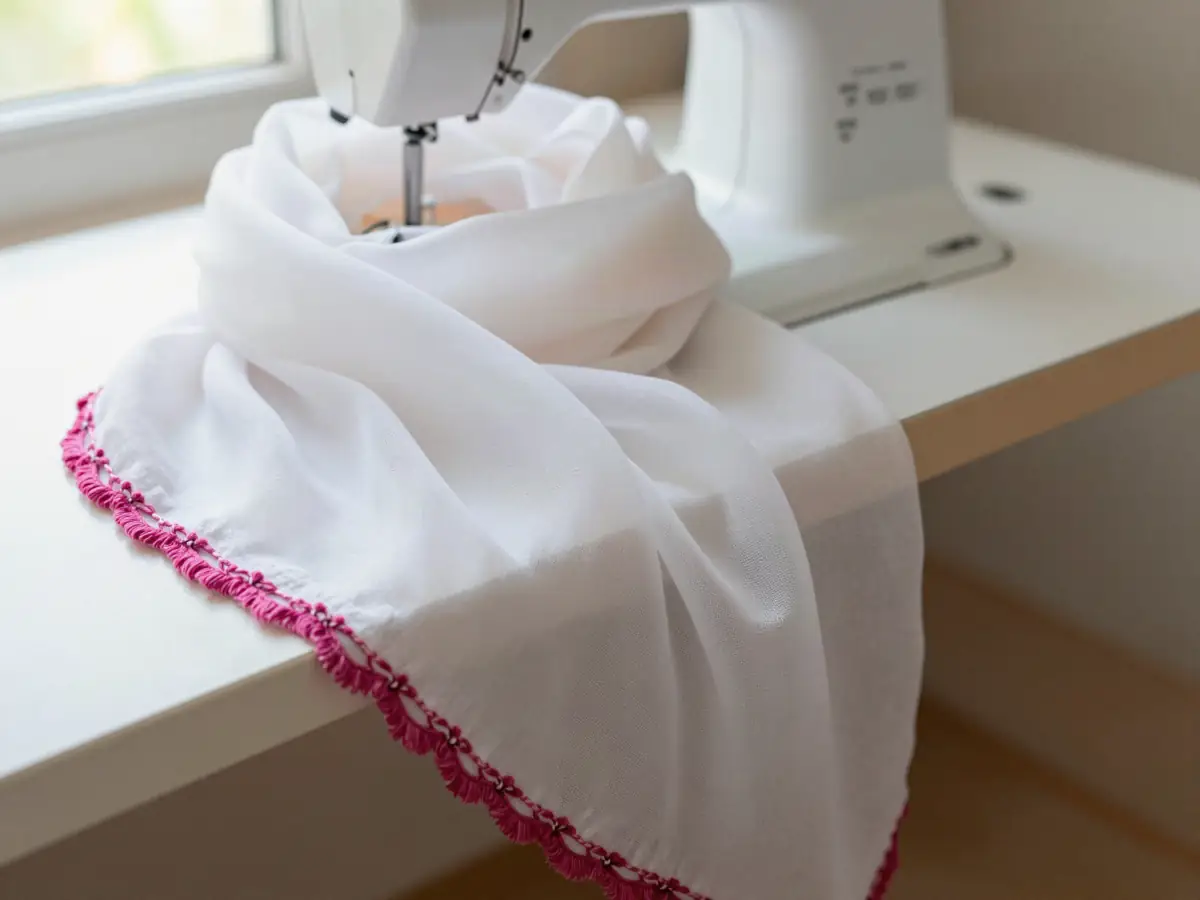
Rolled hem tension
A rolled hem is a deliberately unbalanced stitch. You remove the left needle, disengage the stitch finger (on many machines with a lever or knob), shorten the stitch length and tighten the lower looper so it pulls the upper looper thread around the edge.
Return every setting to your normal numbers afterward, or your next regular seam will look wrong.
Other things that look like tension problems
If the dials and threading check out, look at the needle, the thread and the knife.
- Old or wrong needle: skipped stitches and broken threads. Use the type your manual lists.
- Uneven thread: cheap or old thread varies in thickness, so tension changes along the seam.
- Dull knife: a ragged edge makes the looper threads sit unevenly.
- Lint buildup: fluff around the discs and loopers. Brush it out regularly.

A separate tension masterclass
The same vendor sells a separate Thread-tension Masterclass for $67 one-time (checked Oct 14, 2026). It is an optional add-on, not required for the main course.
Most beginners are better served by the main course first, since tension problems often start with threading and differential feed. See the tension masterclass (paid link).
Start with the full course. Love Your Serger covers threading two ways, sewing basics, 22 stitch types (which ones your machine can sew depends on the model), troubleshooting and differential feed.
See all 22 stitches →Paid link · opens the course's sales page.
Where the course fits
Love Your Serger is an online course by Your Creatory, taught by Nicole. It is not brand-specific, so keep your manual for your machine's dial layout, and there is no live teacher feedback. Our Love Your Serger review covers what is inside and the honest trade-offs.
Paid link · opens the course's sales page.
Sources
- Creativate: how to start sewing on a serger (looper tension rule).
- BSewInn: serger tension adjustment (where loopers should meet).
- Janome 8002D listing (differential feed 0.5–2.25).
- Juki MO-654DE listing (differential feed 0.7–2.0).
Frequently asked questions
How do I know if my serger tension is balanced?
The two needle threads form straight lines on top, the upper looper thread lies flat on top, the lower looper thread lies flat underneath, and the two looper threads meet exactly at the cut edge with no loops or puckers.
Why is my upper looper thread showing on the underside?
The upper looper is too loose or the lower looper is too tight. Tighten the upper looper slightly or loosen the lower looper, one dial at a time, and test again.
Why are my serger seams wavy on knits?
Usually the differential feed is too low, so the fabric stretches as it feeds. Raise the differential feed above 1, for example to about 1.5, and test on a scrap.
What causes puckering on a serged seam?
A needle thread that is too tight, or a differential feed set above 1 on thin woven fabric. Loosen the needle thread and try a differential feed below 1, such as 0.7 to 0.9.
Should I adjust tension or rethread first?
Rethread first. A thread that is not seated between the tension discs behaves as if it had almost no tension, and no dial setting will fix it. Raise the presser foot and floss each thread into its disc.
Which way do I turn a serger tension dial to tighten it?
On most sergers a higher number is tighter and a lower number is looser, but direction and layout vary, so check your machine's manual.