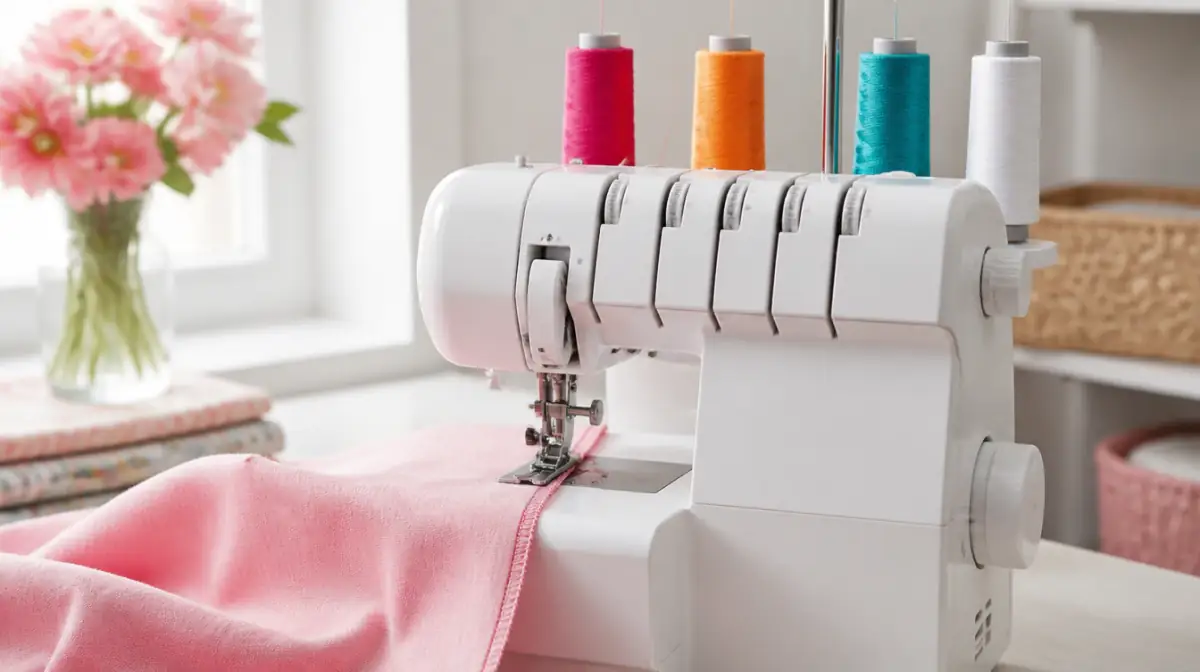
How to Thread a Serger: 4-Thread Order, Step by Step
We may earn a commission from links on this page, at no extra cost to you. Disclosure
Quick answer
Unplug the serger, raise the presser foot to open the tension discs, and thread in this order: upper looper, lower looper, right needle, left needle. Seat each thread firmly in its tension disc, follow the color-coded guides, and sew a test chain before sewing fabric. Your manual has the final say for your model.
We may earn a commission from links on this page, at no extra cost to you. Disclosure
See the course & price →$67 one-time · 60-day money-back guarantee · Paid link

Quick answer: To thread a 4-thread serger, unplug it, raise the presser foot so the tension discs open, then thread in this order: upper looper, lower looper, right needle, left needle. Follow the color-coded guides printed on your machine, pull each thread firmly into its tension disc, and sew a test chain before touching fabric. Your machine's manual has the final say, because a few models (air-threading sergers in particular) use a different order.
Before you start: safety and setup
Always unplug the serger before threading. Your fingers work right next to the needles and the cutting knife, and a bump on the foot pedal can start the machine. The knife is sharp even when the machine is off.
Gather four cones of serger thread (four different colors make learning much easier), long tweezers, and your manual open to the threading diagram. Put the cones on the spool pins and pull the telescoping thread guide all the way up so thread feeds straight down from above.
Step 1: Raise the presser foot and open the front cover
Raising the presser foot opens the tension discs so each thread can slide between them. If the foot is down, the thread rides on top of the discs instead of between them, and the stitch will never balance no matter how you set the dials.
Next, open the front looper cover. Turn the handwheel toward you until the loopers are in a comfortable position to reach. You do not need to turn the tension dials to zero for normal threading. Just note your current settings so you can return to them.
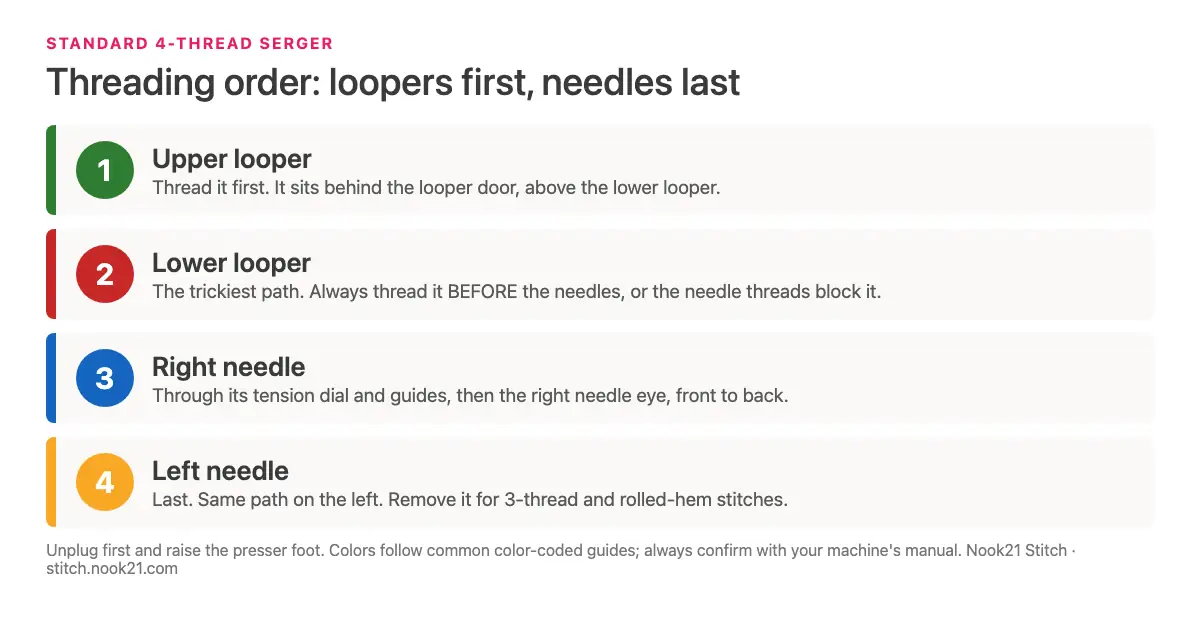
The 4-thread threading order
The standard order is upper looper, lower looper, right needle, left needle. The loopers form the base of the stitch and the needles lock it in place, so the loopers go first.
Most sergers print a matching color on each thread path, for example a color for each looper and each needle. Follow one color at a time, from the cone to the end of that path, before starting the next.
| Order | Thread | Where it ends | Tip |
|---|---|---|---|
| 1 | Upper looper | Eye of the upper looper (the one that moves over the fabric) | Leave a tail of about 4 inches |
| 2 | Lower looper | Eye of the lower looper (the one under the fabric) | Hardest path; see below |
| 3 | Right needle | Eye of the right needle | Narrow-stitch needle |
| 4 | Left needle | Eye of the left needle | Wide-stitch needle; skip it for 3-thread narrow work |
Step 2: Thread the upper looper
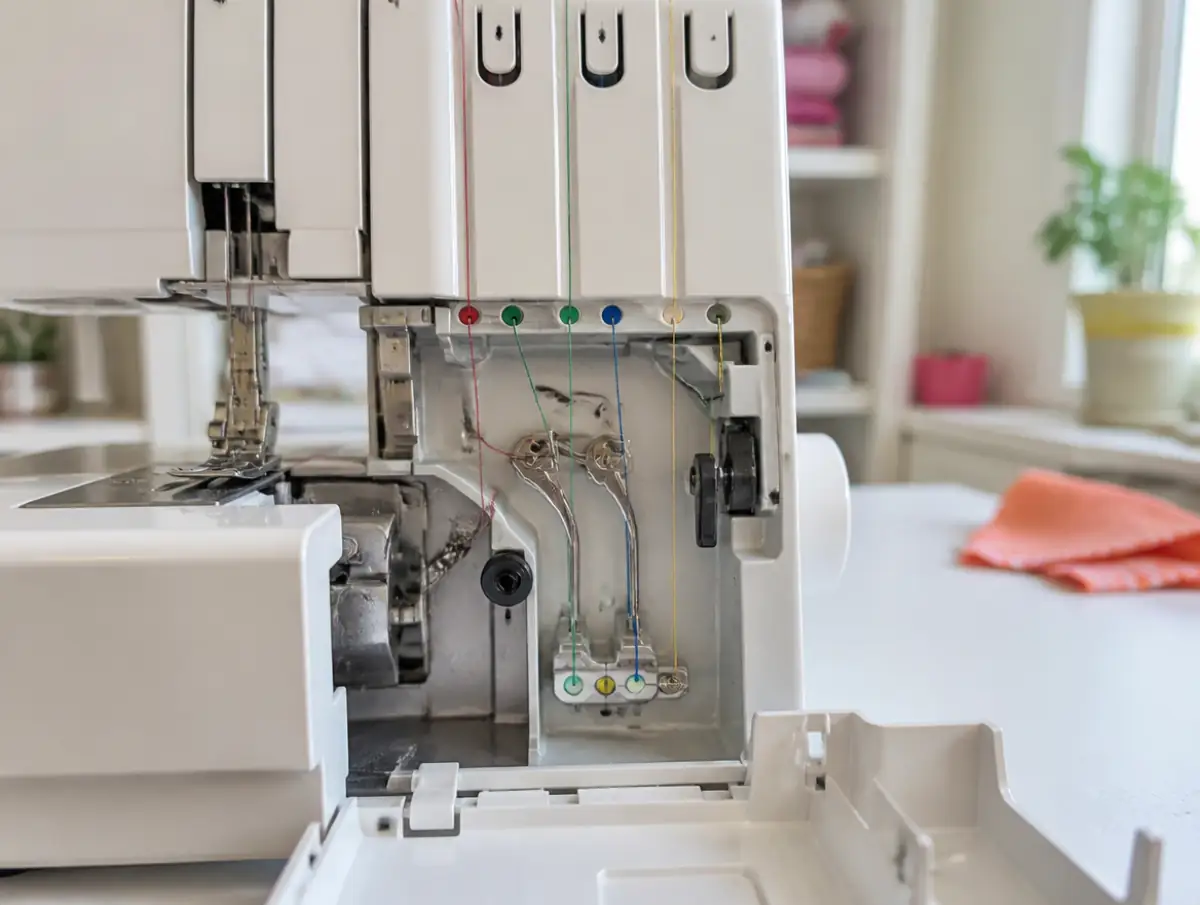
Follow the upper looper's color from the cone, through the top guides, firmly into its tension disc, and down to the looper eye. "Floss" the thread into the disc: hold it on both sides and pull it down until you feel it settle between the plates.
Continue through each guide in the order shown. Tweezers make the last guides much easier. Thread the eye and pull a tail of about 4 inches out to the back, under the presser foot.
Step 3: Thread the lower looper (the hard one)
The lower looper is the hardest thread because its path is long, tucked low inside the machine and partly hidden. On many models the thread also has to sit correctly over the upper looper thread, or the two will cross and break.
Turn the handwheel until the lower looper eye is easy to reach. Some machines have a lever that swings the lower looper out, or a built-in lower looper threading system. Use the tweezers to guide the thread through the last two guides, then the eye, and pull the tail to the back.
Step 4 and 5: Thread the right needle, then the left needle
Thread the right needle first, then the left, each through its own tension disc and guides. Some manufacturers say the needle order does not matter, but both needles always go after both loopers.
Thread each needle eye from front to back. A needle threader or the tweezers help here. Pull all four tails under the presser foot and toward the back.
Step 6: Sew a thread chain and a test seam
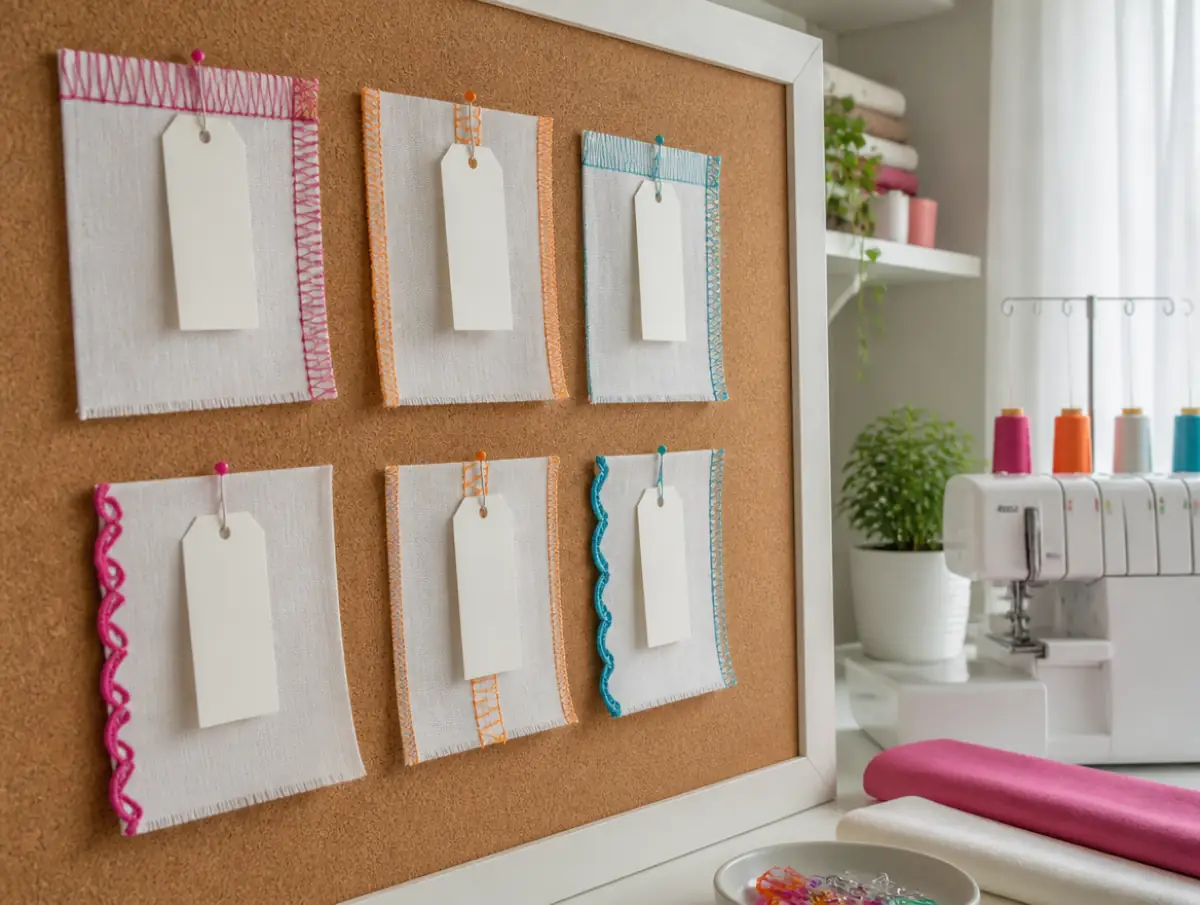
Before sewing fabric, lower the presser foot, hold the four tails lightly and sew a chain of about 3 to 4 inches. A smooth, even chain means the threading is right. If the chain does not form, re-check the loopers first.
Then serge a test seam on two layers of plain cotton scrap. Look for the needle threads as straight lines on top, the upper looper thread on top, the lower looper thread underneath, and both looper threads meeting at the cut edge. If something looks off, see our serger tension guide.
Want to see it done on video? Love Your Serger has a whole module on threading two ways, the regular method and the knot method, with about 41–44 videos in total, according to the vendor. $67 one-time (checked Oct 14, 2026).
Watch the course preview →Paid link · opens the course's sales page.

The tie-on (knot) method for changing thread
The tie-on method swaps colors without rethreading from scratch: you knot the new thread to the old one and pull it through. It only works when the machine is already threaded correctly.
Cut each old thread near its cone, place the new cones and tie each new thread to the old tail with a small, tight knot. Trim the knot tails short.
- Loosen the tension dials to their lowest setting so the knots slip through the discs. This is the one time setting them to zero is helpful.
- Raise the presser foot.
- Pull the looper threads gently from behind the foot until the knots come out the far side of the looper eyes.
- Pull the needle threads until the knots reach the needles. A knot will not pass through a needle eye, so cut it off above the needle and thread the eye by hand.
- Reset the tension dials to your normal numbers and sew a test chain.
If a knot catches, stop and ease it through. Pulling hard can snap the thread inside the machine, and then you are back to full rethreading.
Common threading mistakes and fixes
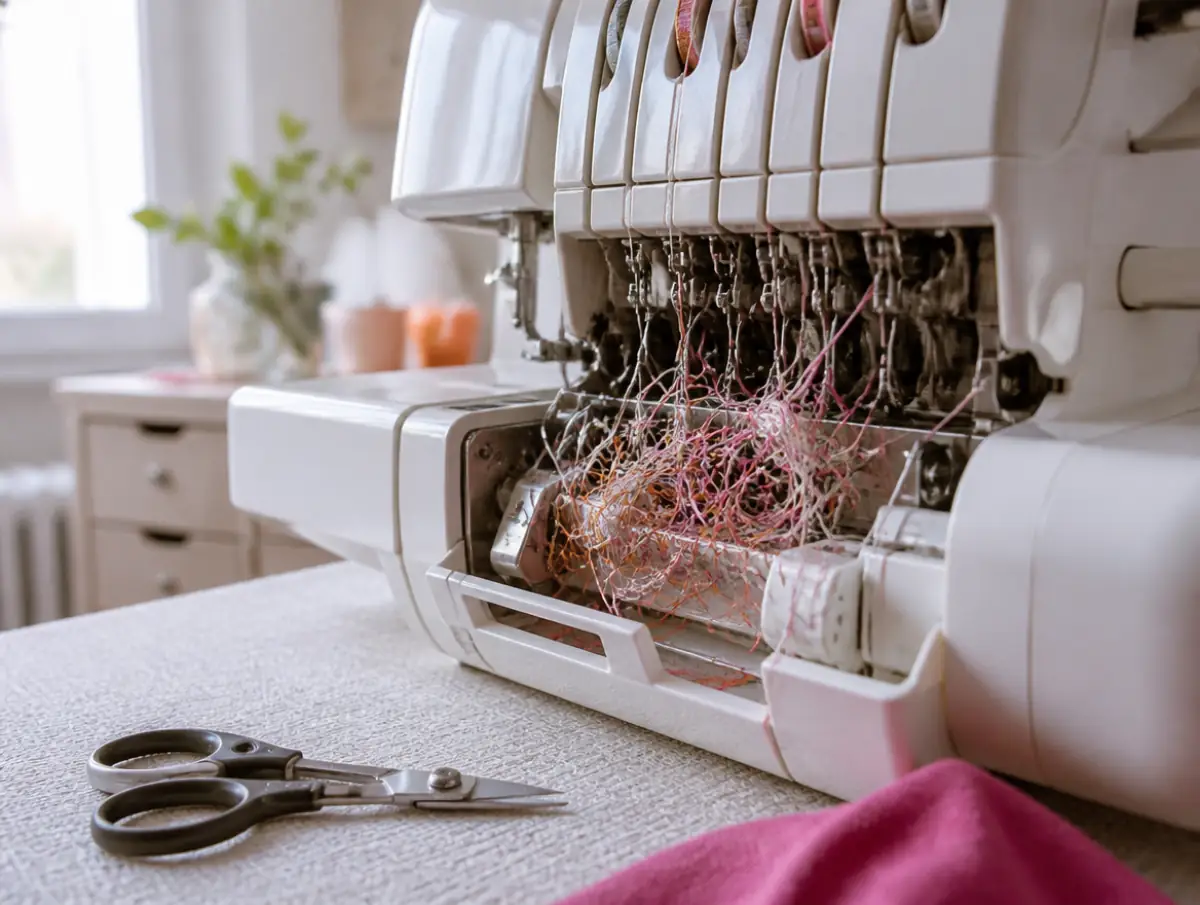
Most serger "tension problems" for beginners are really threading mistakes. Check this list before you turn any dial.
Work through it from the top. The first two causes explain a large share of broken threads and messy stitches.
| Symptom | Likely cause | Fix |
|---|---|---|
| Stitch looks loose or loopy everywhere | Thread not seated in a tension disc | Raise the foot and floss each thread into its disc again |
| Needle thread breaks right away | Needles threaded before the loopers | Unthread the needles, check the loopers, rethread needles last |
| Lower looper thread keeps breaking | Missed guide or crossed with the upper looper | Rethread the lower looper, then the needles |
| No chain forms | Looper unthreaded or thread wrapped around a guide | Re-check both loopers against the diagram |
| Thread snags at the cone | Thread guide pole not fully raised, or cone net missing | Extend the pole; use a thread net on slippery thread |
| Skipped stitches | Bent or wrong needle, or needle not fully inserted | Insert a new needle of the type your manual lists |
One rule saves a lot of time: if a looper comes unthreaded, pull the needle threads out first, rethread the looper, then rethread the needles. Threading a looper while the needles are still threaded often traps the threads in the wrong position.
Stuck on the lower looper? The course covers threading, accessories and needles, then troubleshooting for broken threads and skipped stitches.
See the course & price →Paid link · opens the course's sales page.
Use your manual and color guides
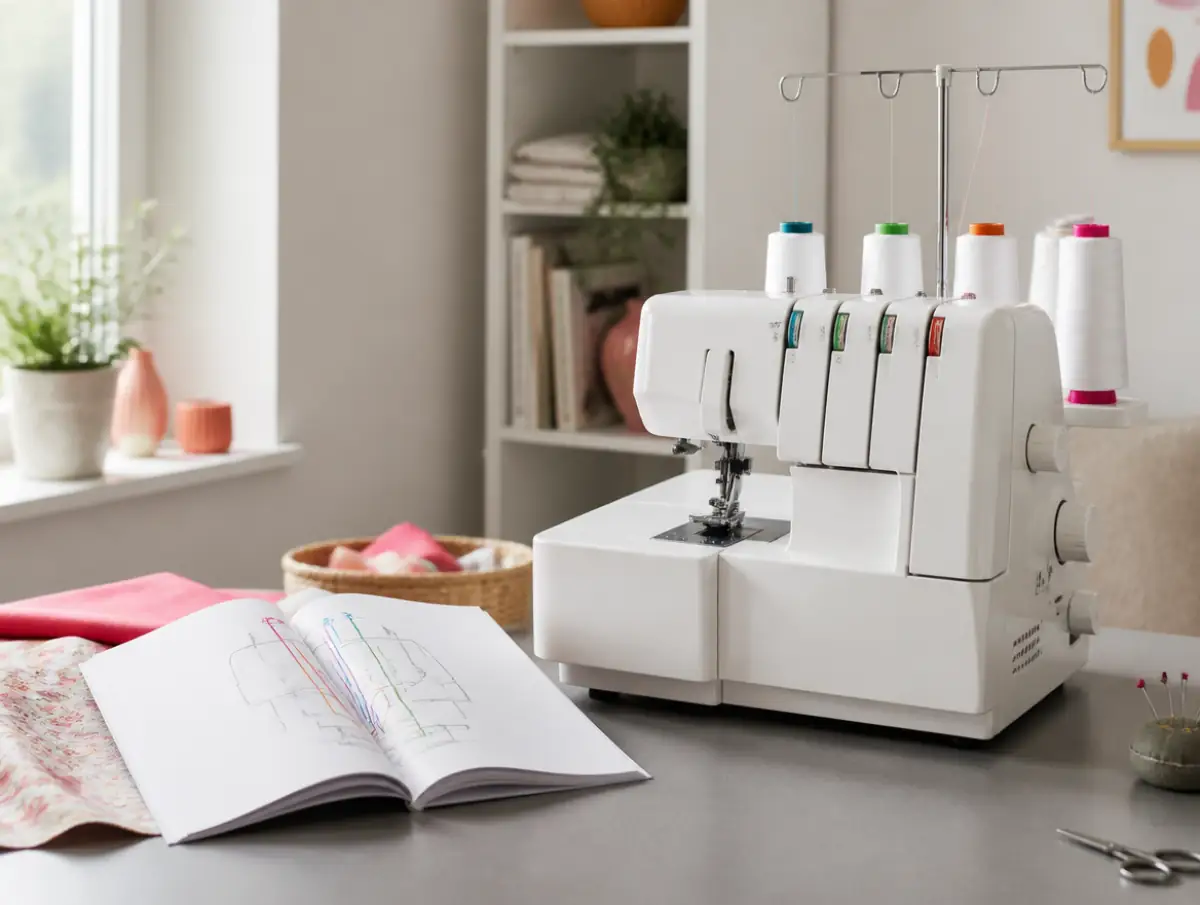
Your manual's threading diagram is the source of truth for your exact model. General guides like this one explain the logic; the manual shows where your machine hides each guide.
Lost the manual? Most manufacturers post PDF manuals on their support sites. Search your brand plus the model number printed on the machine.
Tools that make threading easier
Long serger tweezers are the single most useful threading tool. Most sergers include a pair; bent-tip tweezers reach the lower looper more easily.
- Four colors of thread while learning, so you can see which thread does what in the stitch.
- A needle threader or magnifier for the needle eyes.
- A lint brush to clear fluff from the looper area before threading.
- Good light, such as a small lamp aimed into the looper area.

Practice until it feels routine
Threading feels slow the first few times for most people and gets faster with repetition. Practice a full rethread a few times in one sitting while the steps are fresh.
If your serger has been sitting unused because of threading, you are not alone; our post on why sergers end up in the closet covers the usual reasons. For a shorter version of these steps, see how to thread a 4-thread serger.
Learn threading, then everything after it. Love Your Serger moves from threading to sewing basics, 22 stitch types (which ones your machine can sew depends on the model), differential feed and techniques. 60-day money-back guarantee.
See all 22 stitches →Paid link · opens the course's sales page.
Where the course fits
Love Your Serger is an online video course by Your Creatory, taught by Nicole. It is not model-specific, so you still need your manual for your machine's threading diagram, and there is no live teacher feedback. If you want a step-by-step video path from threading to finished projects, our Love Your Serger review covers what is inside, the price and the honest trade-offs.
Paid link · opens the course's sales page.
Sources
- UNT Libraries Spark: Serger 101, how to thread (looper-first order).
- The Creative Curator: how to thread a serger (exceptions for air-threading models).
- Bernina SergerSense tips (PDF) (needle order, rethreading a looper).
Frequently asked questions
What order do you thread a 4-thread serger?
Upper looper first, then lower looper, then right needle, then left needle. The loopers form the base of the stitch and the needles lock it. Some models, especially air-threading sergers, differ, so confirm with your manual.
Why do you thread the loopers before the needles?
If the needles are threaded first, the needle threads can trap the looper threads in the wrong position, and the stitch may not form or a thread may break. Threading loopers first keeps the paths clear.
Should the presser foot be up or down when threading a serger?
Up. Raising the presser foot opens the tension discs so each thread can settle between them. Threading with the foot down is a common cause of loose, loopy stitches.
What is the knot or tie-on method?
It is a way to change thread colors on an already threaded serger. You cut the old threads near the cones, tie the new threads on, loosen the tension dials, and pull the knots through the loopers. Needle threads are cut above the needle and threaded by hand, because a knot will not pass through a needle eye.
Why is the lower looper so hard to thread?
Its path is long, sits low inside the machine and is partly hidden, and on many models the thread must pass correctly over the upper looper thread. Long or bent tweezers and turning the handwheel to bring the looper into reach help a lot.
What should I do if a looper thread breaks?
Unthread both needles first, rethread the looper, then rethread the needles. Rethreading a looper while the needles are still threaded often leads to tangles or another break.